
Introduction
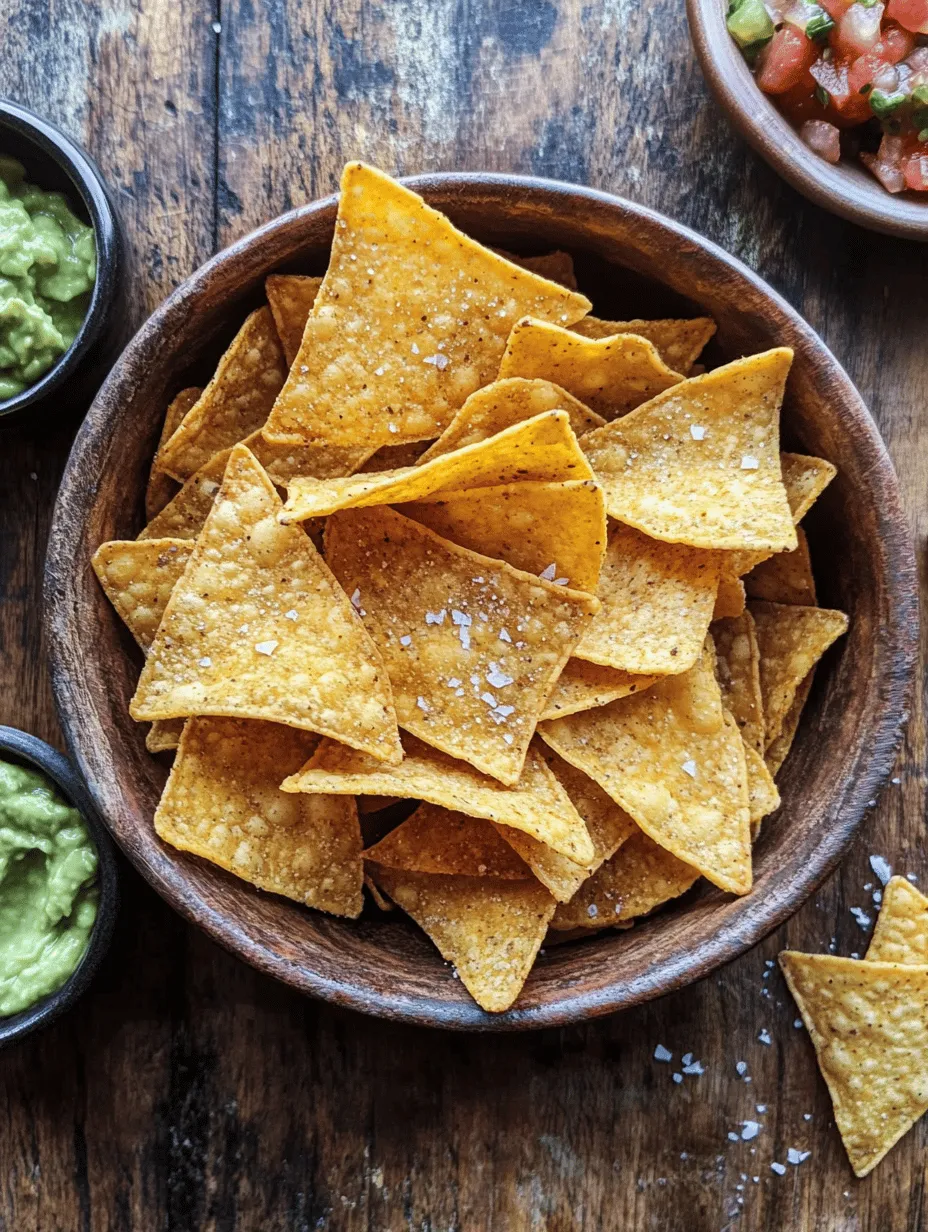
Tortilla chips have become a beloved staple across many cuisines, particularly in Mexican and Tex-Mex dishes. Whether enjoyed on their own, paired with salsa, or as a crunchy topping for a variety of dips, these versatile snacks have won over the hearts and taste buds of food lovers everywhere. However, the allure of tortilla chips goes beyond their delightful crunch and savory flavor; they also provide a canvas for creativity, allowing for endless customization with different seasonings and dips.
While store-bought tortilla chips can be convenient, there’s something truly special about homemade versions. When you make your tortilla chips from scratch, you have complete control over the ingredients, ensuring a healthier option that’s free from preservatives and artificial flavors. Homemade tortilla chips are also fresher and can be tailored to suit your taste preferences. In this article, we will guide you through the process of creating your own crunchy baked tortilla chips, sharing tips and techniques to achieve the perfect texture and flavor.
Get ready to dive into the world of homemade tortilla chips! By the end of this recipe, you’ll not only know how to make them but also understand the nuances of selecting ingredients and preparing them to perfection.
Understanding Tortilla Chips
A Short History of Tortilla Chips in Mexican Cuisine
The origins of tortilla chips can be traced back to the early 1940s in Mexico, where they were created as a way to utilize leftover tortillas. These crispy bites were initially served as a snack in local taverns, typically accompanied by salsa or guacamole. Over the years, tortilla chips gained immense popularity, transcending their humble beginnings and becoming a staple in both casual dining and gourmet settings.
In the United States, the chips found their way into the hearts of many during the 1960s and 70s, thanks to the rise of Tex-Mex cuisine. Today, they are a fundamental component of nachos, a dish that has become iconic in American culture. Tortilla chips are not just a snack; they represent a fusion of cultures and a celebration of flavors.
Differences Between Store-Bought and Homemade Tortilla Chips
When it comes to tortilla chips, the differences between store-bought and homemade versions are significant. Store-bought chips often come with added preservatives, excess sodium, and artificial flavors, which can detract from the natural taste of the corn. Additionally, many commercial brands fry their chips, which can lead to higher fat content and a greasier mouthfeel.
In contrast, homemade tortilla chips allow you to choose high-quality corn tortillas and control the cooking process. By baking rather than frying, you can create a lighter, crunchier chip that is both satisfying and guilt-free. Moreover, making your own chips means you can experiment with various seasonings, from classic sea salt to more adventurous options like chili powder or garlic powder.
Nutritional Benefits of Using Corn Tortillas
Corn tortillas, the foundational ingredient in tortilla chips, offer several nutritional advantages. Made from whole corn, they are naturally gluten-free and provide a source of dietary fiber, which is essential for digestive health. Additionally, corn tortillas contain important vitamins and minerals, including magnesium, potassium, and B vitamins.
When you opt for homemade tortilla chips, you can ensure that you’re using minimally processed ingredients, allowing you to enjoy a tasty snack that fits into a balanced diet. By baking your chips, you also reduce the amount of oil used, making them a healthier alternative to their fried counterparts.
Ingredients Breakdown
Overview of the Main Ingredients: Corn Tortillas, Olive Oil, and Sea Salt
To create the perfect crunchy baked tortilla chips, you’ll need just a few simple ingredients:
1. Corn Tortillas: The foundation of your chips. Look for high-quality, preferably organic corn tortillas for the best flavor and texture.
2. Olive Oil: Used to lightly coat the tortillas before baking, olive oil adds richness and enhances the crunch.
3. Sea Salt: A crucial ingredient for seasoning, sea salt brings out the natural flavors of the corn.
These three ingredients are all you need for a classic version of tortilla chips. However, the beauty of homemade chips lies in their versatility. You can easily tweak the recipe to suit your taste.
The Importance of Quality Ingredients for Flavor and Texture
The quality of the ingredients you select plays a vital role in the final outcome of your tortilla chips. Fresh, high-quality corn tortillas will yield chips with rich corn flavor and a satisfying crunch. When selecting olive oil, opt for extra virgin varieties, as they possess a robust flavor and higher nutritional value compared to refined oils.
By investing in quality ingredients, you’ll elevate your homemade chips from ordinary to extraordinary. The effort you put into sourcing these ingredients will reflect in the taste, making your chips a standout snack.
Possible Ingredient Variations
While the basic recipe for tortilla chips is simple, there are numerous ways to customize them to fit your preferences. Here are a few ideas for ingredient variations:
– Flavored Oils: Consider using flavored olive oils, such as garlic or chili-infused, to give your chips an extra kick.
– Different Seasonings: Beyond sea salt, feel free to experiment with a variety of spices. Paprika, cumin, or even a sprinkle of lime zest can add a unique twist to your chips.
– Cheesy Flavor: If you’re a fan of cheese, consider sprinkling some nutritional yeast or a cheese seasoning blend on your chips before baking for a delightful cheesy flavor without the dairy.
With these variations in mind, you can create a unique batch of tortilla chips that reflects your personal taste.
Step-by-Step Instructions
Preheating the Oven
Before diving into the preparation of your tortilla chips, the first step is to preheat your oven. Set it to 350°F (175°C), which is the ideal temperature for achieving a perfect crispiness without burning the chips. Preheating the oven ensures that the chips will bake evenly, allowing for that delightful crunch we all crave.
Importance of the Right Temperature for Crispiness
Baking tortilla chips at the right temperature is crucial for achieving that satisfying crunch. If the temperature is too low, the chips may become soggy rather than crispy. Conversely, if the oven is too hot, the chips can burn quickly. By sticking to the recommended temperature of 350°F, you’ll give your chips the best chance to turn out perfectly golden and crunchy.
Preparing the Tortillas
Once the oven is preheated, it’s time to prepare your corn tortillas. Here’s how to do it:
1. Cutting the Tortillas: Begin by stacking a few tortillas on a cutting board. Using a sharp knife or pizza cutter, slice the tortillas into wedges. You can cut them into quarters or sixths, depending on your preferred chip size. For uniformity, aim to make each piece roughly the same size, as this will ensure even cooking.
2. Types of Corn Tortillas Available: When selecting your corn tortillas, you may come across different varieties, such as white, yellow, or blue corn tortillas. Each type has its own unique flavor profile, so feel free to experiment! Yellow corn tortillas tend to have a slightly sweeter flavor, while blue corn tortillas offer a nuttier taste and vibrant color.
Oiling the Tortillas
After cutting the tortillas into wedges, the next step is to oil them. This is an essential process that enhances flavor and contributes to the desired crunchiness.
– Techniques for Ensuring Even Coating: Place the tortilla wedges in a large mixing bowl. Drizzle a couple of tablespoons of olive oil over the top. Using your hands, gently toss the chips to ensure they are evenly coated with oil. It’s important not to overdo it; you want just enough oil to help the chips crisp up without becoming greasy.
– Benefits of Using Olive Oil Over Other Oils: Olive oil is praised for its health benefits, including heart-healthy fats and antioxidants. In addition to its nutritional advantages, olive oil lends a delicious flavor to the chips that enhances the overall eating experience. Unlike some other oils that may have a neutral taste, olive oil adds a subtle richness that complements the corn flavor beautifully.
Seasoning the Tortillas
Once the tortilla wedges are coated with olive oil, it’s time to season them. This step is where you can get creative!
– Simple Seasoning: For a classic flavor, sprinkle a generous pinch of sea salt over the oiled tortilla wedges. Toss the chips again to ensure even distribution.
– Exploring Additional Seasonings: If you’re feeling adventurous, now is the time to add additional spices and herbs. Consider experimenting with garlic powder, onion powder, cayenne pepper for heat, or even dried herbs like oregano or cilantro. Mix and match until you find your perfect flavor combination.
With your tortilla chips prepped, oiled, and seasoned, you’re well on your way to enjoying an irresistible homemade snack. The next steps will guide you through the baking process, ensuring that you achieve that perfect crunch that everyone loves. Stay tuned for the continuation of this recipe, where we’ll dive into the baking process and additional tips for success!
Exploring Different Seasoning Options Beyond Sea Salt
While sea salt is a classic choice for seasoning tortilla chips, the possibilities are virtually endless when it comes to flavoring your homemade snacks. For those looking to elevate their chips, consider trying a variety of seasonings that can cater to different taste preferences. Here are some popular alternatives:
– Spicy Chili Powder: Add a kick with a sprinkle of chili powder or cayenne pepper. This is perfect for those who enjoy a bit of heat in their snacks.
– Smoked Paprika: For a smoky flavor, smoked paprika is a great option. It adds depth and a slightly sweet note, making your chips even more irresistible.
– Cumin and Garlic Powder: A blend of cumin and garlic powder provides a warm, savory flavor that pairs beautifully with salsa.
– Lime Zest: For a refreshing twist, consider adding lime zest to the chips before baking. This citrus note brightens the flavor and is reminiscent of traditional Mexican cuisine.
– Herbs: Dried herbs like oregano, thyme, or even a mix of Italian seasoning can introduce a lovely aromatic quality to your chips.
Feel free to mix and match these seasonings to create a unique blend that suits your palate. The key is to sprinkle these spices evenly over the tortilla triangles before baking, ensuring every bite is packed with flavor.
Baking the Chips
Once you’ve seasoned your tortilla triangles, it’s time to bake them to crunchy perfection. Preheat your oven to 350°F (175°C). This temperature is optimal for achieving a crisp texture without burning the chips.
The Significance of Spreading Out the Chips for Optimal Crispness
When placing your seasoned tortilla chips on a baking sheet, it’s crucial to spread them out in a single layer. Overcrowding the pan can lead to uneven cooking and sogginess. Each chip needs space to allow hot air to circulate around it, which is essential for that desired crunch.
If you’re using multiple baking sheets, rotate them halfway through the baking process to ensure even crisping. This simple step can make a significant difference in the final texture of your chips.
Signs to Look For to Ensure Chips Are Perfectly Baked
As the chips begin to bake, keep an eye on them. The baking time can vary depending on the thickness of your tortillas and your oven’s performance, but generally, you should bake them for about 10-15 minutes. Look for these signs to know when your chips are ready:
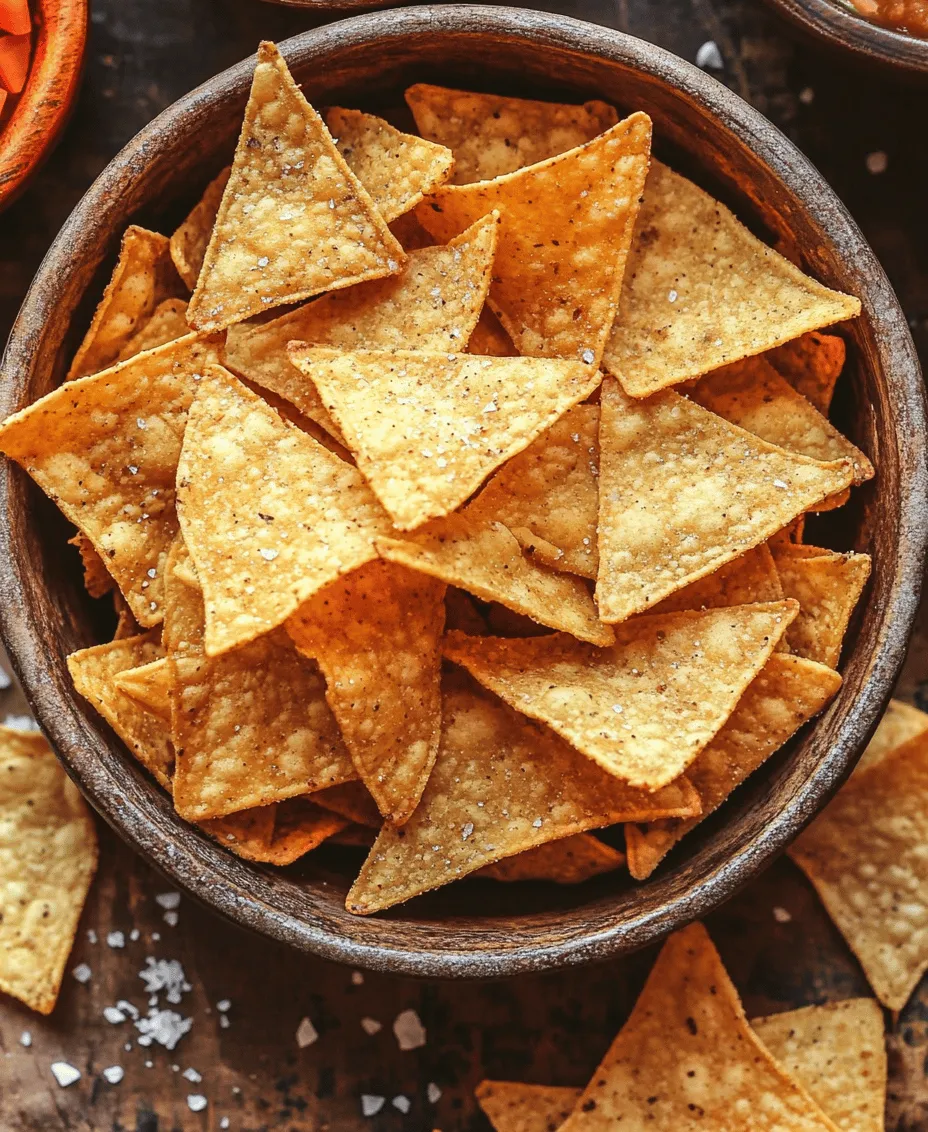
– Color: The chips should be golden brown and slightly darker than their original color.
– Texture: They should feel firm to the touch, without any softness. If they still feel pliable, they need more time in the oven.
– Aroma: A toasted, nutty aroma will fill your kitchen when the chips are nearing readiness.
Cooling and Serving
Once the chips are perfectly baked, remove them from the oven and let them cool on the baking sheet for a few minutes. This cooling period is essential as it allows the chips to crisp up even further.
Best Practices for Cooling to Maintain Crunch
To maintain maximum crunchiness, transfer the chips to a wire rack after a few minutes. This allows air to circulate around the chips, preventing them from steaming and becoming soft.
Suggesting Serving Ideas and Pairings with Dips
Homemade tortilla chips are versatile and can be paired with an array of delicious dips. Here are some popular options:
– Salsa: Whether you prefer a fresh tomato salsa or a fruit-based salsa like mango or pineapple, the acidity and brightness will complement the crunchy chips beautifully.
– Guacamole: The creamy texture of guacamole is a classic pairing. The rich, buttery avocado contrasts nicely with the chip’s crunch.
– Hummus: For a healthy option, serve tortilla chips with hummus. The savory flavors of hummus combined with the crunch of the chips make for a satisfying snack.
– Cheese Dip: Melted cheese dips, like queso, are always a crowd-pleaser and add a rich, gooey element to the crisp chips.
For social gatherings, consider creating a chip and dip platter that showcases a variety of dips alongside your crunchy tortilla chips. This not only enhances the visual appeal but also caters to different taste preferences.
Tips for Perfect Tortilla Chips
Common Mistakes to Avoid When Baking Tortilla Chips
1. Not Using Enough Oil: It’s essential to coat your chips lightly with oil to ensure they crisp up nicely. Skipping the oil or using too little can result in chewy chips.
2. Baking at Too High a Temperature: While it may be tempting to crank the oven up for quicker results, a moderate temperature ensures even cooking without burning the chips.
3. Skipping the Seasoning: Don’t forget to season your chips before baking. This step is vital for flavor, and unseasoned chips can taste bland.
Adjusting Baking Time Based on Thickness and Oven Variations
Every oven is unique, and the thickness of your tortillas can affect baking time. If you’re using thicker tortillas, you may need to adjust the cooking time slightly. Always start checking for doneness a couple of minutes earlier than the suggested time to prevent overbaking.
How to Store Leftover Chips to Maintain Freshness
If you have leftover chips (which is often unlikely!), store them in an airtight container at room temperature. Make sure they are completely cooled before sealing, as any moisture can make them soggy. For longer-lasting freshness, consider placing a piece of parchment paper in the container to absorb excess moisture.
Pairing Suggestions
Popular Dips That Complement Tortilla Chips
– Classic Salsa: A fresh tomato salsa, perhaps with a hint of cilantro and lime, is a staple.
– Creamy Guacamole: The rich creaminess of guacamole is an excellent pairing for crunchy chips.
– Savory Hummus: A chickpea-based dip offers a healthy alternative that’s full of flavor.
– Spicy Cheese Dip: A warm cheese dip, perhaps with jalapeños, adds a comforting touch to your chip experience.
Creating a Chip and Dip Platter for Social Gatherings
For parties or gatherings, consider crafting a beautiful chip and dip platter. Include a variety of dips and garnishes, such as sliced jalapeños, chopped herbs, or even a sprinkle of cheese on top of your dips for that extra flair. This makes for an inviting centerpiece and encourages guests to sample different flavors.
Exploring Healthy Options for Dips
If you’re looking for healthier dip options, consider:
– Greek Yogurt Dip: A yogurt-based dip with herbs and spices can offer a creamy texture without the extra calories.
– Avocado Dip: Blend ripe avocados with lime juice and cilantro for a light yet flavorful dip.
– Bean Dips: A black bean dip can be both nutritious and satisfying, packed with protein and flavor.
Health Benefits of Homemade Tortilla Chips
Comparison of Calories and Fat Content Between Homemade and Store-Bought Chips
One of the significant advantages of making your tortilla chips at home is the ability to control the ingredients. Store-bought chips are often fried and can be high in calories and unhealthy fats. In contrast, homemade tortilla chips baked with a light drizzle of olive oil can be a healthier alternative, allowing you to enjoy your snacks without the guilt.
Discussing the Use of Olive Oil and Its Health Benefits
Using olive oil in your tortilla chips not only adds flavor but also comes with health benefits. Olive oil is rich in monounsaturated fats, which are linked to heart health. It also contains antioxidants that can help reduce inflammation and protect your cells from damage.
The Advantage of Controlling Salt Intake
Another significant benefit of making your tortilla chips at home is the ability to control your salt intake. Store-bought chips are often heavily salted, which can lead to excessive sodium consumption. By seasoning your homemade chips, you can adjust the salt level to your preference, making it easier to maintain a healthy diet.
Conclusion
The joy of making homemade crunchy tortilla chips is an experience that goes beyond mere snacking. With the ability to customize flavors, control ingredients, and serve them fresh, these chips can become a staple in your home cooking repertoire. Whether you choose to enjoy them with a classic salsa, creamy guacamole, or a healthy hummus, the possibilities are endless.
Don’t be afraid to experiment with different seasonings and dips—each combination can lead to new culinary delights. Making your snacks at home not only satisfies your cravings but also brings a sense of accomplishment and creativity to your kitchen. So grab those tortillas, fire up the oven, and enjoy the rewarding experience of crafting your own delicious snacks from scratch.