
Introduction
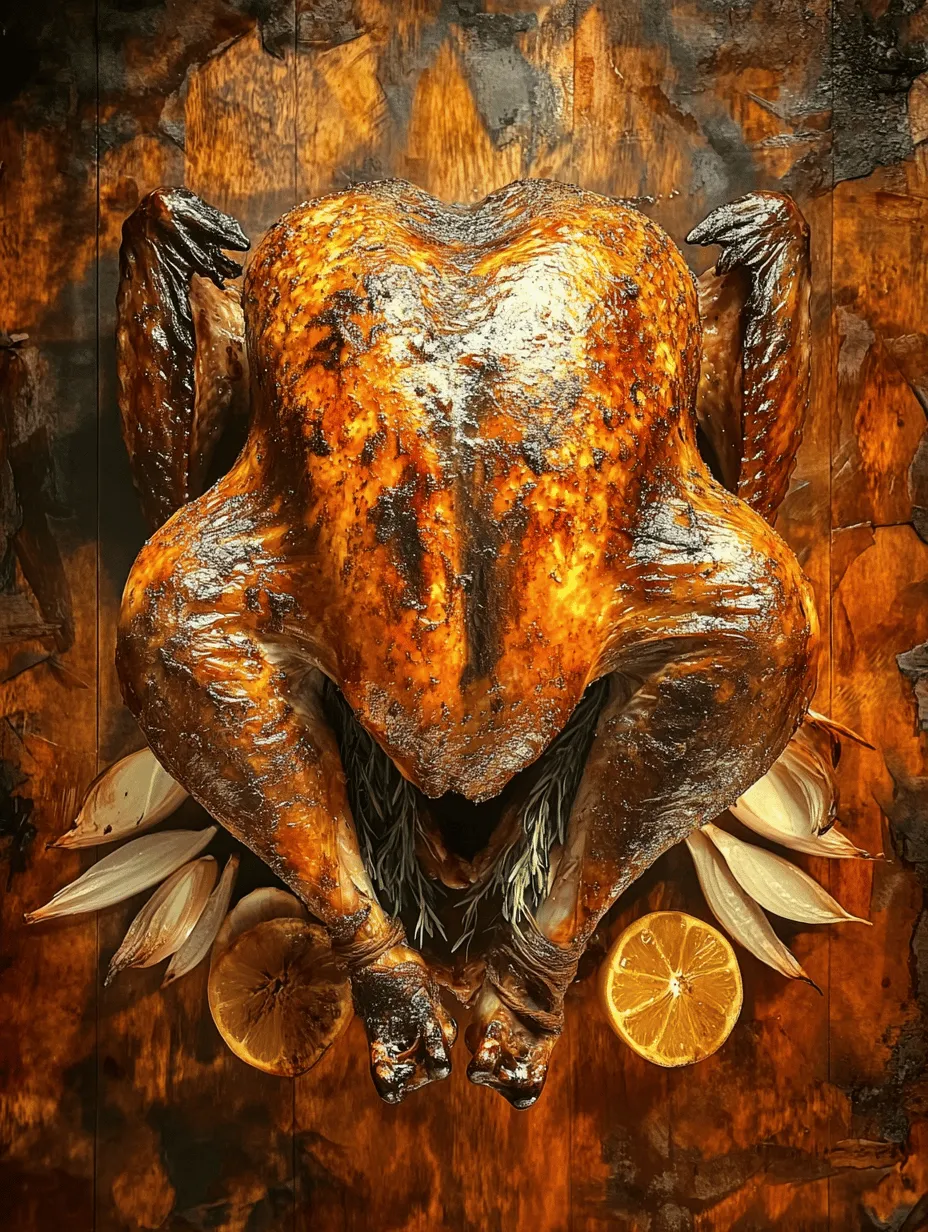
Turkey holds a special place in festive meals, especially during the holiday season. Whether it’s Thanksgiving, Christmas, or a family gathering, the succulent flavors and hearty presentation of a beautifully roasted turkey can elevate any celebration. However, achieving that perfect turkey—juicy on the inside and crispy on the outside—can often feel like a culinary challenge. This is where the method of dry brining comes into play. Not only does it enhance the flavor, but it also helps retain moisture, ensuring that your turkey turns out tender and delicious.
Dry brining is a simple yet effective technique that involves rubbing the turkey with a mixture of salt and spices, allowing it to rest in the refrigerator for several hours or overnight. This method works by drawing moisture out of the turkey, which then mixes with the salt and is reabsorbed, resulting in a flavorful and moist bird. Unlike wet brining, which involves submerging the turkey in a saltwater solution, dry brining is less messy and requires less space while yielding equally impressive results.
Preparation is key to mastering the dry brining process. It’s essential to plan ahead, as allowing the turkey to rest with the brine mixture is crucial for achieving maximum flavor and moisture retention. In this article, we’ll guide you through the steps of preparing an easy dry brined turkey, ensuring that your festive feast is a hit!
Understanding Dry Brining
What is Dry Brining?
Dry brining is a technique where salt and other seasonings are rubbed onto the surface of the turkey and allowed to marinate for an extended period. The process differs from traditional wet brining in that it does not require a liquid solution. Instead, the salt draws out the turkey’s natural juices, which then combine with the salt to create a flavorful brine that is absorbed back into the meat. This method not only flavors the turkey but also changes its texture, making it more tender.
Benefits of Dry Brining for Turkey
1. Flavor Enhancement: The primary benefit of dry brining is the intense flavor it imparts to the meat. The salt penetrates deeply, seasoning the turkey from the inside out. This means that every bite is bursting with flavor, unlike simply seasoning the surface before cooking.
2. Moisture Retention: One of the biggest concerns when roasting turkey is ensuring it remains juicy. Dry brining helps to retain moisture by creating a brine that the meat absorbs. This process minimizes the risk of a dry turkey, even when cooked at higher temperatures.
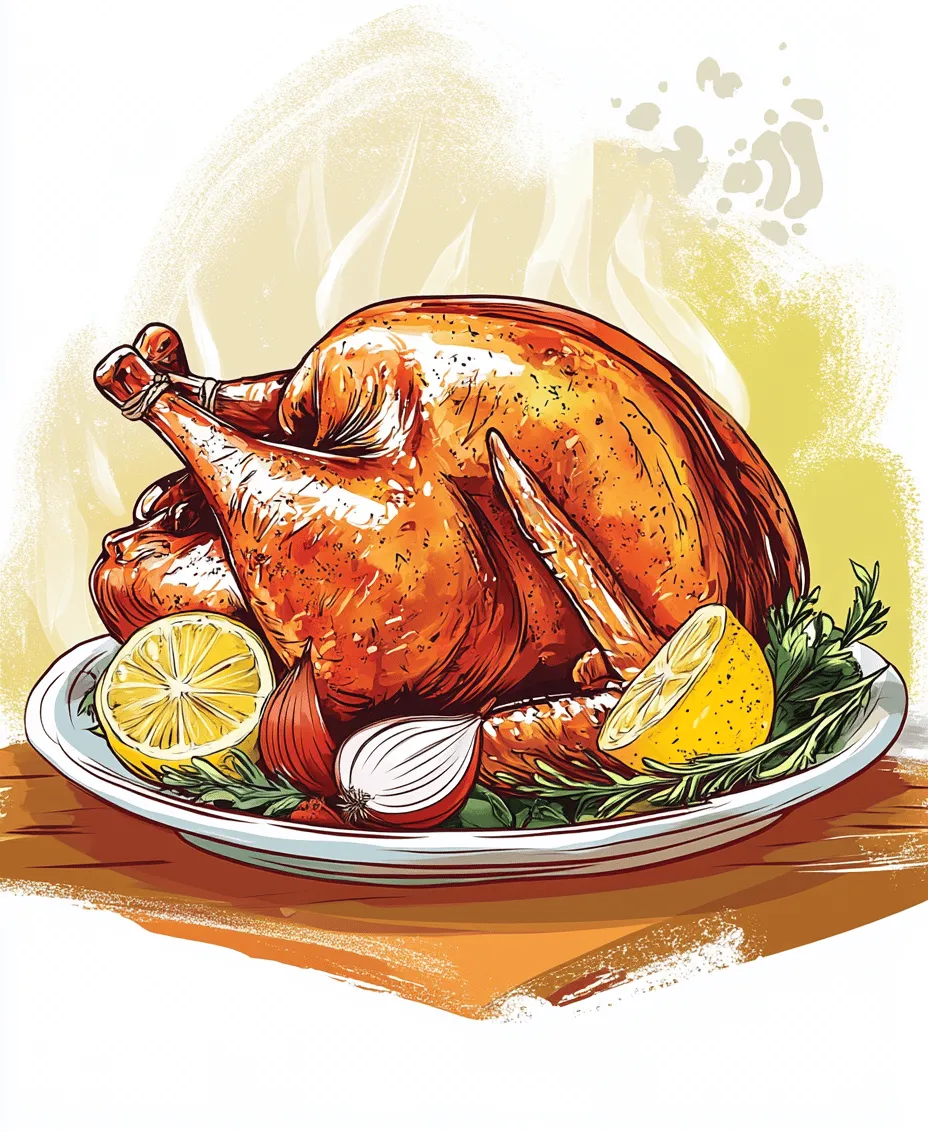
3. Crispy Skin: If you’re a fan of crispy, golden-brown turkey skin, dry brining is your best bet. By removing excess moisture from the skin during the brining process, you allow for a beautifully crispy texture when roasted.
The Science Behind Salt and Sugar in the Brining Process
The science of dry brining revolves around the use of salt, which is a natural flavor enhancer. When applied to the turkey, salt breaks down muscle proteins, allowing the meat to retain moisture during cooking. This results in a juicy, flavorful turkey that doesn’t dry out easily.
Sugar plays a complementary role in the brining process. While it adds a touch of sweetness, it also aids in the browning of the skin during cooking, creating that desirable golden color. Together, salt and sugar work in harmony to enhance the flavor, texture, and appearance of your turkey.
Ingredients Breakdown
To prepare a delicious dry brined turkey, you’ll need a few essential ingredients. Here is a breakdown of the main components:
Main Ingredients for Dry Brine
1. Kosher Salt: This is the cornerstone of your dry brine. Kosher salt is preferred due to its larger grain size, which is easier to distribute evenly over the turkey. Its primary function is to draw moisture and enhance the flavor of the meat.
2. Brown Sugar: Adding brown sugar not only brings a subtle sweetness to balance the saltiness but also assists in achieving a beautifully caramelized skin.
3. Spices: A blend of spices adds depth to the flavor profile of the turkey. Common spices include:
– Garlic Powder: Provides a savory, aromatic quality.
– Onion Powder: Adds sweetness and complexity.
– Black Pepper: Offers warmth and slight heat.
– Paprika: Contributes color and a mild flavor, with the option to use smoked paprika for an added smoky note.
– Cayenne Pepper: For those who enjoy a bit of heat, cayenne pepper can be added to taste.
4. Fresh Herbs and Aromatics: Incorporating fresh herbs such as thyme, rosemary, and sage can elevate the flavor even further. Aromatics like lemon and onion also add a fresh, zesty element that infuses the turkey with additional flavor.
Sourcing Quality Ingredients
When it comes to sourcing your ingredients, opt for high-quality kosher salt and fresh spices to ensure optimal flavor. Local farmer’s markets or specialty grocery stores often carry fresh herbs, which can make a significant difference in your brining mixture. Always check the expiration dates on spices and use fresh ingredients to get the best results.
Step-by-Step Guide to Dry Brining Turkey
Preparing the Brine Mixture
To start your dry brining process, you’ll need to prepare the brine mixture. Here’s how to do it:
1. Measuring and Mixing: In a medium bowl, combine kosher salt and brown sugar in a ratio of about 1 cup of salt to 1/2 cup of sugar. This ratio can be adjusted based on your personal taste preferences. Add your chosen spices to the bowl, mixing well to ensure an even distribution of flavors.
2. Adjusting the Spice Levels: Taste the mixture and adjust the spices as needed. If you prefer a more robust flavor, feel free to increase the amount of garlic or onion powder. Similarly, if you enjoy a spicy kick, consider adding more cayenne pepper.
Preparing the Turkey
Before applying the dry brine, it’s essential to prepare your turkey properly:
1. Patting the Turkey Dry: Use paper towels to pat the turkey dry, ensuring that the skin is free of excess moisture. This step is crucial as it allows the brine to adhere better to the turkey’s surface.
2. Ensuring Cleanliness: Make sure to clean your working area and tools thoroughly to prevent cross-contamination. A clean kitchen is vital for food safety.
3. Techniques for Getting the Brine Under the Skin: For optimal flavor penetration, gently separate the skin from the meat by sliding your fingers underneath. Be careful not to tear the skin. This space is where you’ll want to apply some of your brine mixture to infuse the meat directly.
Applying the Dry Brine
Now it’s time to apply the dry brine to your turkey:
1. Even Application: Take a generous handful of the brine mixture and rub it all over the turkey, paying special attention to the breasts and thighs, as these are the most prone to drying out. Make sure to cover every part of the turkey, including the cavity.
2. Cover Key Areas: When applying the brine, ensure that you cover the breast, thighs, and wings thoroughly. The goal is to have the brine mixture in contact with as much surface area as possible.
By following these initial steps, you’ll be well on your way to creating a mouth-watering dry brined turkey that will impress your guests and leave them asking for seconds. Stay tuned for the next part of this article, where we’ll delve into the cooking process and share some tips for achieving the perfect roast.
Refrigeration Process
The refrigeration process is a crucial step in preparing your dry brined turkey. After applying the salt mixture, it’s essential to allow the turkey to rest in the refrigerator for 24 to 48 hours. This chilling duration significantly impacts flavor absorption, as the salt penetrates the meat, enhancing its natural flavor while also helping to retain moisture during the cooking process. The longer the turkey sits in the brine, the more pronounced the flavor will be, making this step well worth the wait.
When refrigerating the turkey, it’s important to keep it uncovered. This allows the skin to dry out, which is a fundamental step in achieving that coveted crispy skin. The drying process helps create a barrier that locks in moisture, ensuring a juicy turkey once it’s roasted. As you prepare to move onto the next steps, make sure your refrigerator is set at a consistent temperature, ideally below 40°F, to ensure food safety.
Roasting the Turkey
Preparing the Roasting Setup
Once your turkey has dry brined and dried out in the refrigerator, it’s time to prepare for roasting. Start by preheating your oven to 450°F. This high initial temperature will help to create a beautiful golden-brown exterior. While the oven is preheating, take your turkey out of the refrigerator and let it come to room temperature for about 30 to 60 minutes. Allowing the turkey to warm slightly is crucial for even cooking, as starting with a cold turkey can lead to an unevenly cooked bird.
Next, arrange the turkey in a large roasting pan. If you wish, you can place a rack in the pan, which will elevate the turkey and allow hot air to circulate around it. This setup promotes even cooking and helps the skin crisp up beautifully.
Stuffing the Turkey
Stuffing your turkey is a fantastic way to infuse additional flavor into the meat. Consider using a mixture of fresh herbs, garlic, onions, or citrus fruits. These ingredients will impart their aromas and tastes into the turkey, enhancing the overall flavor profile. When stuffing, be careful not to overpack the cavity as this can prevent the turkey from cooking evenly.
A well-stuffed turkey not only adds flavor but also creates a delightful side dish when the stuffing absorbs the turkey juices during roasting. However, if you prefer not to stuff your turkey, you can still achieve great flavor by placing aromatics inside the cavity, which will impart their flavors as the turkey cooks.
Buttering the Turkey
One of the secrets to achieving that golden, crispy skin lies in buttering the turkey. Use softened unsalted butter and gently work it under the skin of the breast and thighs. This technique not only adds rich flavor but also helps to keep the meat moist during roasting. The butter will melt while cooking, basting the turkey from the inside and contributing to a beautifully browned skin.
For added flavor, consider mixing herbs or garlic into the butter before applying it. This simple step can elevate the dish and provide a deliciously aromatic finish.
Roasting Instructions
Now it’s time to roast the turkey! Place the turkey in the preheated oven at 450°F for about 30 minutes. This high heat will help to start browning the skin. After the first half hour, reduce the oven temperature to 325°F and continue roasting. As a general guideline, roast the turkey for about 13-15 minutes per pound.
To ensure food safety, monitor the internal temperature using a meat thermometer. The turkey is safe to eat when it reaches an internal temperature of 165°F in the thickest part of the breast and thighs. Another helpful tip is to baste the turkey every 30-45 minutes with its pan juices. Basting adds moisture and enhances the flavor, resulting in a beautifully rich turkey.
Resting and Carving the Turkey
Importance of Resting the Turkey Post-Roasting
Once the turkey reaches the desired internal temperature, it’s essential to let it rest for about 30 to 45 minutes before carving. This resting period allows the juices to redistribute throughout the meat, ensuring each slice is moist and tender. If you carve the turkey too soon, you’ll risk losing those precious juices, resulting in a drier turkey.
Cover the turkey loosely with aluminum foil during the resting period to keep it warm while it rests. This way, the turkey retains its heat and remains deliciously succulent.
Carving Techniques
After the turkey has rested, it’s time to carve it. Start by placing the turkey breast-side up on a cutting board. Using a sharp carving knife, begin by cutting off the legs. Hold the leg at the joint and cut through the skin and meat until you reach the joint. Bend the leg back to pop the joint out of its socket, then cut through to detach the leg completely.
Next, remove the wings using the same technique. For the breast, slice down along the breastbone, making long, even strokes to create beautiful slices. For presentation, try to carve against the grain for tender pieces. Arrange the turkey slices on a platter, alternating dark and white meat for an appealing display.
Conclusion
Dry brining is a transformative technique that enhances the flavor, texture, and overall enjoyment of your turkey. The meticulous process of salting, refrigerating, and roasting creates a juicy and flavorful centerpiece that is sure to impress your family and friends. By following these steps and incorporating tips for preparation, stuffing, and roasting, you can elevate your holiday meal to new heights.
As you embark on your journey to prepare this delicious dry brined turkey, remember that careful preparation and attention to detail are key. This method not only guarantees a succulent turkey but also makes the cooking experience enjoyable and rewarding. With your newly acquired skills, the turkey will undoubtedly become the star of your holiday table, bringing joy and flavor to your festive feast. Embrace the process, and let your culinary creativity shine!