
Introduction
Red velvet has become a beloved flavor in the world of desserts, often recognized for its rich, chocolatey taste and striking crimson hue. This unique flavor has made its way into cakes, cupcakes, and even pancakes, capturing the hearts of many, especially during celebrations like birthdays, weddings, and holidays. The distinctiveness of red velvet is not solely in its color; it carries a sense of nostalgia and comfort, often evoking memories of family gatherings and joyous occasions.
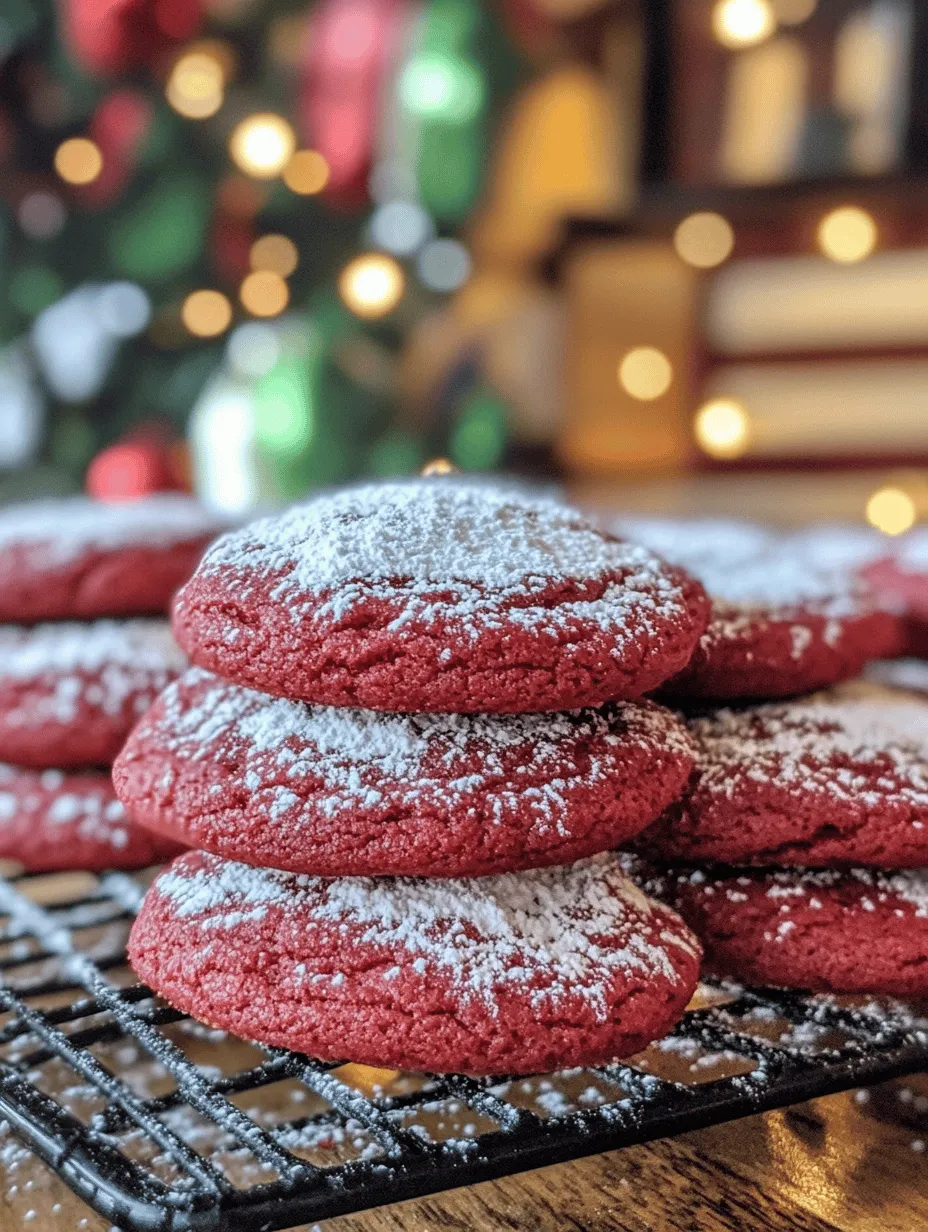
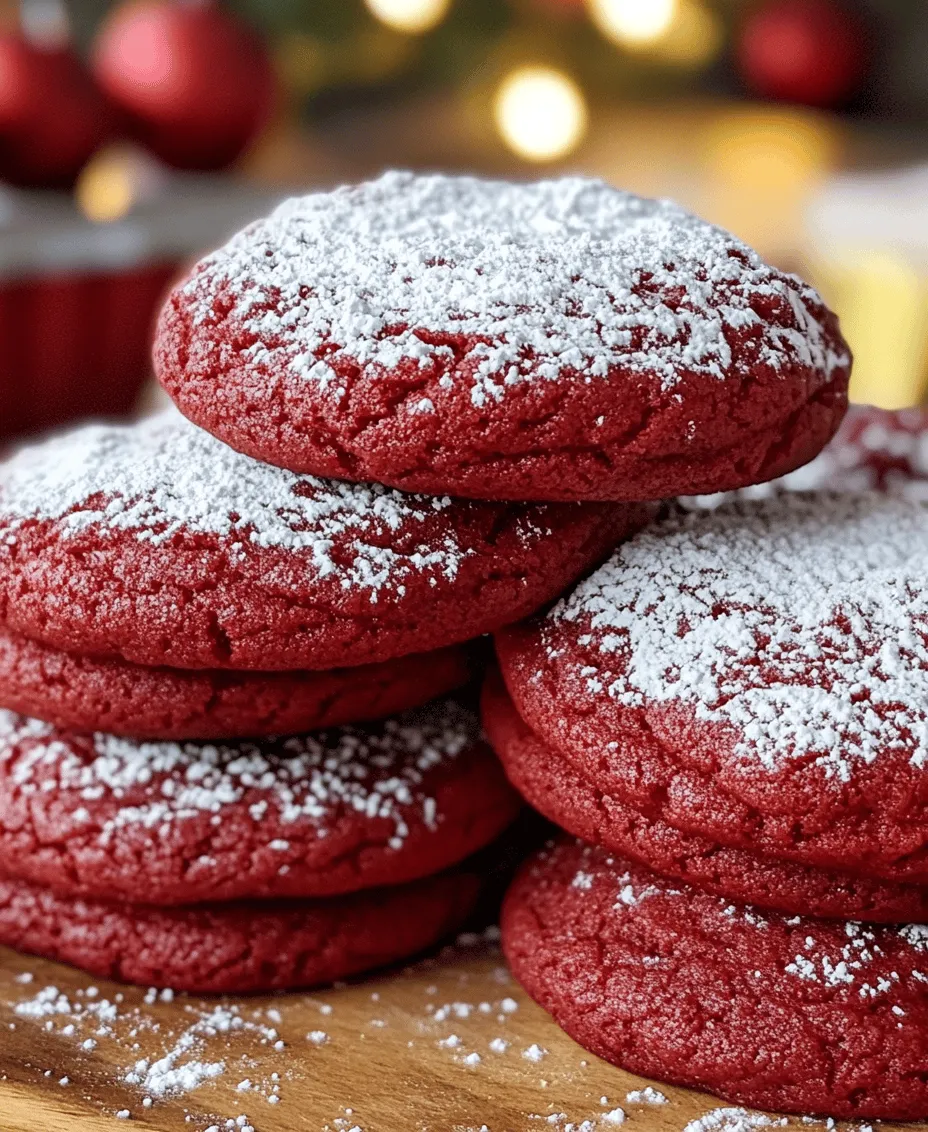
In this exploration of sweet delights, we introduce you to a recipe that encapsulates the essence of red velvet in a wonderfully gooey form: Easy Red Velvet Gooey Butter Cookies. These cookies are not only visually stunning with their vibrant red color but also deliver a soft, chewy texture that melts in your mouth. The gooeyness of these cookies sets them apart from traditional varieties, making them a delightful treat for any occasion.
Baking should be a joyful and accessible experience, and that’s why simple recipes like these are essential in our everyday lives. Whether you’re a seasoned baker or a novice in the kitchen, this recipe will be your go-to for an indulgent yet straightforward dessert that brings a splash of color and flavor to your table.
Understanding Red Velvet Cookies
To truly appreciate Easy Red Velvet Gooey Butter Cookies, it’s essential to understand what makes the red velvet flavor so distinctive. While the base of red velvet desserts is often chocolate, it’s the combination of ingredients that gives it a unique flavor profile. The addition of buttermilk, cocoa powder, and vinegar helps create the characteristic tanginess that balances the sweetness of the dessert. This flavor complexity is further complemented by the vibrant red hue, which traditionally comes from the use of cocoa powder and, in some recipes, food coloring.
Historically, red velvet cake can be traced back to the early 20th century, gaining popularity in the 1920s and beyond. It is often associated with Southern cuisine, where it became a staple in bakeries and homes alike. The rise of red velvet desserts can be attributed to its striking appearance and the unique flavor that differentiates it from other cakes, making it a favorite for special occasions.
Gooey butter cookies, on the other hand, offer a different baking experience. Unlike traditional cookies that are crisp on the edges and chewy in the center, gooey butter cookies have a soft, almost cake-like texture, thanks to the inclusion of cream cheese and butter in the dough. This gives them their signature gooeyness, making each bite a delightful experience. The combination of red velvet and gooey butter cookies results in a dessert that is both visually appealing and mouthwateringly delicious.
Ingredients Breakdown
To embark on your journey to creating these delectable Easy Red Velvet Gooey Butter Cookies, it’s vital to understand the role of each ingredient in the recipe. This knowledge not only enhances your baking skills but also ensures that you achieve the desired texture and flavor.
– Red Velvet Cake Mix: This is the foundation of flavor for your cookies. Using a red velvet cake mix provides convenience and ensures that you infuse the cookies with the classic red velvet taste. It’s a time-saver that simplifies the process while delivering that signature color and flavor.
– Unsalted Butter: Butter is a crucial ingredient in baking, providing fat that contributes to the richness and texture of your cookies. Using unsalted butter allows you to control the salt content in your recipe, which is essential for balancing flavors. The butter should be softened to room temperature for optimal creaming with the sugars.
– Cream Cheese: This is the secret to achieving the gooey texture that defines these cookies. Cream cheese not only adds richness but also moisture, helping to create that melt-in-your-mouth experience. It imparts a slight tanginess that complements the sweetness of the cookie beautifully.
– Granulated and Powdered Sugar: Each type of sugar serves a different purpose. Granulated sugar contributes to the structure of the cookie and helps it spread during baking, while powdered sugar adds a touch of sweetness and aids in achieving the soft, gooey texture. The combination of both sugars ensures a well-rounded flavor profile.
– Baking Powder: As a leavening agent, baking powder plays a vital role in helping the cookies rise and achieve that pillowy softness. It activates when combined with moisture, creating tiny gas bubbles that expand during baking, resulting in a light and fluffy cookie.
– Salt: Though it may seem minor, salt is an essential ingredient that enhances the overall flavor of your cookies. It balances the sweetness and brings out the rich flavors of the butter and cream cheese. A small pinch goes a long way in elevating your baked goods.
Step-by-Step Instructions
Preheating the Oven and Preparing Baking Sheets
Before you dive into mixing the ingredients, it’s crucial to preheat your oven to ensure that your cookies bake evenly. Set your oven to 350°F (175°C). Proper temperature is key to achieving the perfect texture; too low, and your cookies may spread too much, becoming flat and crispy instead of gooey and soft.
While the oven is heating up, prepare your baking sheets. Lining them with parchment paper is highly recommended, as it prevents sticking and ensures easy removal of the cookies once baked. If you don’t have parchment paper, you can lightly grease the baking sheets with non-stick cooking spray or butter, but parchment paper is the best option for achieving that perfect, gooey finish.
Mixing the Wet Ingredients
Now that your oven is preheated and the baking sheets are ready, it’s time to mix the wet ingredients. This step is vital for creating the ideal texture in your cookies. Start by placing your softened unsalted butter and cream cheese in a large mixing bowl. Using an electric mixer, cream the butter and cream cheese together on medium speed until the mixture is smooth and fluffy. This process incorporates air into the mixture, resulting in a light texture.
Next, gradually add in the granulated sugar while continuing to mix. The goal is to achieve a pale and fluffy mixture that indicates the sugars have been well incorporated. Once this is achieved, add the eggs, one at a time, ensuring each egg is fully incorporated before adding the next. This step is crucial for emulsifying the ingredients and ensuring a uniform dough.
After the eggs, stir in the vanilla extract. This ingredient is often overlooked, but it adds depth to the flavor of your cookies. Vanilla enhances the sweetness and complements the chocolate notes of the red velvet cake mix.
By following these initial steps, you’ll be well on your way to creating a batch of Easy Red Velvet Gooey Butter Cookies that are sure to impress. Prepare to continue with the dry ingredients and the assembly of your cookie dough in the next section, where we’ll explore the final touches that will take these cookies from good to absolutely irresistible.
Combining Dry Ingredients
To create the perfect base for your Easy Red Velvet Gooey Butter Cookies, start by preparing your dry ingredients. This step is crucial, as it ensures an even distribution of flavors and textures throughout the cookie dough. Here’s how to do it:
1. Sift the Dry Ingredients: In a large mixing bowl, combine your all-purpose flour, cocoa powder, baking powder, and salt. Sifting these ingredients not only removes any lumps but also aerates the flour, making it easier to mix with the wet ingredients. This process is essential for achieving a smooth and fluffy cookie texture.
2. Whisk for Uniformity: After sifting, use a whisk to mix the dry ingredients thoroughly. This will help prevent clumps and ensure that the baking powder is evenly distributed, which is key for achieving the right rise and texture in your cookies.
Taking the time to properly combine your dry ingredients will pay off in the final product, ensuring that every bite of your red velvet cookies is consistently delicious.
Forming the Cookie Dough
Once your dry ingredients are well combined, it’s time to move on to forming the cookie dough. This stage is where the magic starts to happen.
1. Incorporate Wet Ingredients: Begin by creaming together softened cream cheese and butter in a separate bowl until the mixture is light and fluffy. Gradually add in granulated sugar, followed by the egg and vanilla extract. The mixture should be smooth and incorporate air, which contributes to the gooey texture of the cookies.
2. Combine Mixtures: Slowly add your dry ingredients to the wet mixture. Use a spatula or wooden spoon to gently fold the ingredients together. Be careful not to overmix; you want to combine them until just incorporated, as overworking the dough can lead to tough cookies.
3. Visual Cues for Dough Consistency: You’ll know your dough is ready when it’s sticky but manageable. It should hold together, yet retain a slightly tacky texture that will give the cookies their characteristic gooeyness. If it seems too dry, you can add a teaspoon of milk to achieve the desired consistency.
4. Chill the Dough: This step is essential. Cover the bowl with plastic wrap and place it in the refrigerator for at least 30 minutes. Chilling the dough allows the flavors to meld and the butter to firm up, which helps the cookies maintain their shape during baking. It also contributes to a chewier texture, which is a hallmark of gooey cookies.
Shaping and Coating the Cookies
Once your dough has chilled, it’s time to shape your cookies.
1. Rolling the Dough: Use a cookie scoop or a tablespoon to portion out the dough. Roll each portion into a ball between your palms, ensuring they are uniform in size. This helps ensure even baking. Aim for about 1 to 1.5 inches in diameter.
2. Coating in Powdered Sugar: Place a generous amount of powdered sugar in a small bowl. Roll each dough ball in the powdered sugar until fully coated. This not only adds a delightful sweetness but also creates a beautiful contrast against the red velvet hue of the cookies once baked.
3. Arrange on Baking Sheet: Line a baking sheet with parchment paper and place the dough balls about 2 inches apart. This allows room for the cookies to spread while baking without merging into one another.
Baking the Cookies
Baking is where all your hard work comes together. Here’s what to look for to ensure your cookies turn out perfectly.
1. Preheat Your Oven: Preheat your oven to 350°F (175°C). This ensures that your cookies bake evenly from the moment they go in.
2. Baking Time: Bake the cookies in the preheated oven for about 10-12 minutes. You’ll know they are done when the edges are set, but the centers still look slightly underbaked. They will continue to firm up as they cool.
3. Cooling Times: Allow the cookies to cool on the baking sheet for about 5 minutes before transferring them to a wire rack. This cooling period is crucial as it helps develop their texture. The longer you let them cool, the chewier they will become, while the centers will remain gooey and delicious.
Perfecting the Gooey Texture
The gooey texture of these red velvet butter cookies is what sets them apart from traditional cookies. Here’s a closer look at what creates this unique consistency:
1. Cream Cheese and Butter: The combination of cream cheese and butter in the dough is vital. The cream cheese adds moisture, while the butter contributes to flavor and richness. Together, they create a wonderfully soft and gooey interior.
2. Sugar Content: Using a mix of granulated sugar and powdered sugar not only enhances sweetness but also plays a critical role in texture. The powdered sugar helps create a soft, melt-in-your-mouth experience, while the granulated sugar adds a slight crunch to the outer layer.
3. Comparison with Other Cookie Types: Unlike traditional cookies, which may be crisp or cakey, gooey cookies provide a contrast of textures. They have a soft, rich center surrounded by a slightly firmer exterior. This delightful combination is achieved through careful measuring, mixing, and baking techniques.
Serving Suggestions
Now that your Easy Red Velvet Gooey Butter Cookies are baked to perfection, it’s time to think about how to serve them.
1. Pairing with Beverages: These cookies pair exceptionally well with a variety of beverages. A glass of milk complements their sweetness, while a rich coffee enhances the cocoa flavor. For a more sophisticated option, consider serving them with a dessert wine or a sweet red wine, which can elevate the dining experience.
2. Festive Presentations: For holiday gatherings or special occasions, consider serving the cookies on a decorative platter. You can dust them with extra powdered sugar right before serving for a fresh look. Alternatively, package them in clear cellophane bags tied with a ribbon for a charming gift.
3. Creative Serving Ideas: For a unique twist, sandwich two cookies together with cream cheese frosting or a scoop of your favorite ice cream. This transforms them into an indulgent dessert that is sure to impress.
Storage Tips
To ensure your cookies stay fresh and delicious, consider these storage tips:
1. Storing Baked Cookies: Keep your baked cookies in an airtight container at room temperature. They can last for up to one week. Placing a slice of bread in the container can help keep them soft and prevent them from drying out.
2. Freezing the Dough: If you want to prepare the dough ahead of time, you can freeze it. After forming the dough balls, place them on a baking sheet and freeze until solid. Once frozen, transfer them to a zip-top bag and store them in the freezer for up to three months. When you’re ready to bake, simply bake them directly from the freezer, adding an extra minute or two to the baking time.
3. Freezing Baked Cookies: You can also freeze baked cookies. Allow them to cool completely, then wrap each cookie individually in plastic wrap and place them in a freezer-safe container. They can be stored for up to three months. To enjoy, thaw at room temperature or warm them in the microwave for a few seconds.
Conclusion
Baking Easy Red Velvet Gooey Butter Cookies is not just about creating a tasty treat; it’s about experiencing the joy of homemade goodness. With their rich flavor, delightful texture, and beautiful presentation, these cookies are sure to become a favorite in your household.
Don’t hesitate to experiment with the recipe—try different types of fillings, adjust the sweetness, or even add a splash of your favorite extract for a unique twist. The beauty of baking is that it allows for creativity and personalization.
As you enjoy these cookies, remember that the comfort and satisfaction derived from homemade treats are truly unparalleled. So gather your ingredients, preheat your oven, and indulge in the delightful process of baking. Your taste buds will thank you!