
Introduction
There’s something undeniably enchanting about the smell of freshly baked cinnamon rolls wafting through your kitchen. The warm, cinnamon-sugar aroma fills the air, inviting everyone to gather and indulge in a sweet treat that transcends generations. Homemade cinnamon rolls are not just a dessert; they are a comforting tradition that evokes memories of family gatherings, lazy Sunday mornings, and cozy holidays spent together.
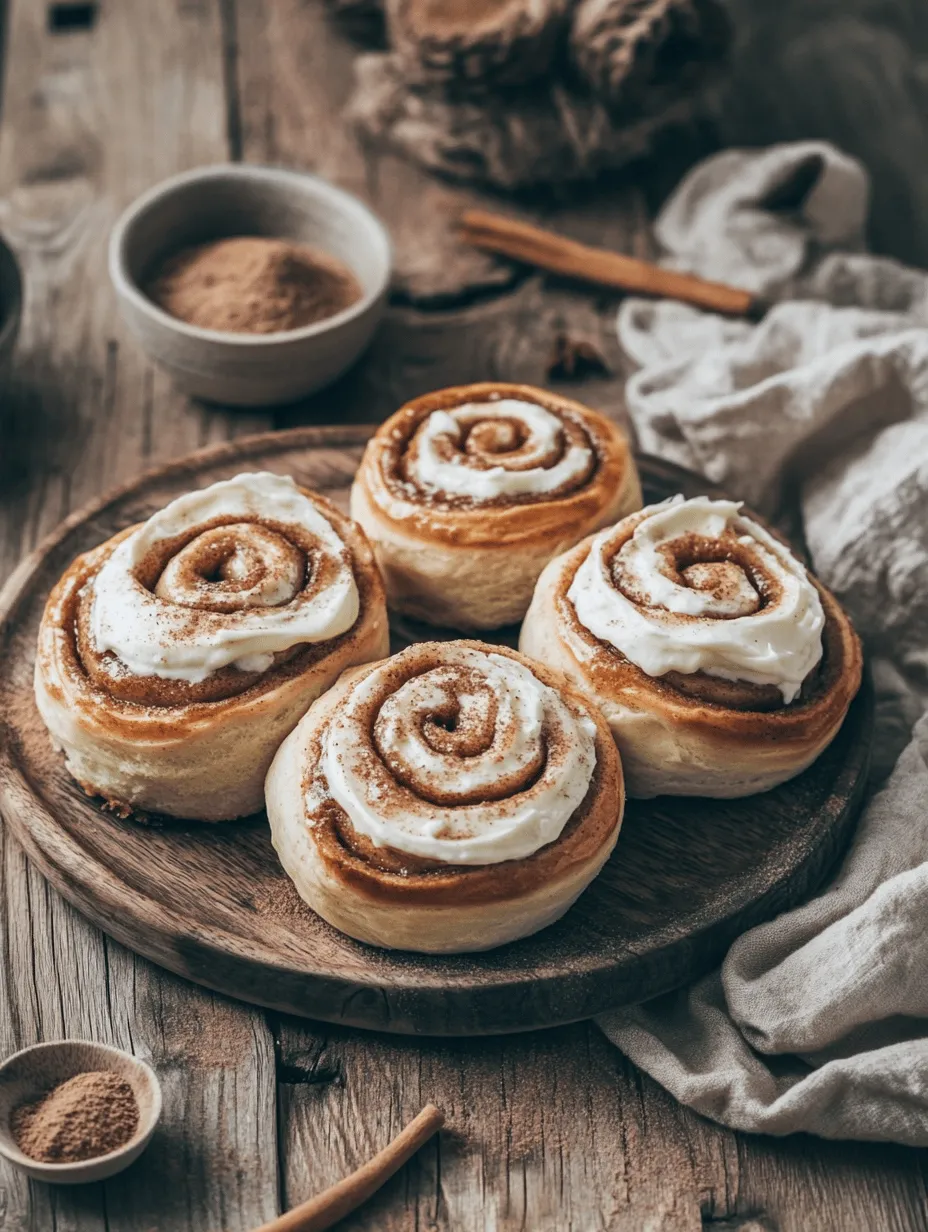
This recipe for “The Best Homemade Cinnamon Rolls” stands out not only for its taste but also for the joy it brings to both the baker and the lucky recipients. With a soft, fluffy dough enveloping a gooey cinnamon-sugar filling, these rolls are topped with a rich cream cheese frosting that adds the perfect finishing touch. The combination of flavors and textures makes these cinnamon rolls an irresistible delight that will have you reaching for seconds—and possibly thirds.
The Joy of Baking Cinnamon Rolls
Baking has a transformative power that goes beyond just creating food; it is an act of love and creativity. The process of making homemade cinnamon rolls is as rewarding as the final product itself. As you measure, mix, and knead the ingredients, you become immersed in the sensory experience of baking. The sight of flour dusting your countertop, the feel of the dough as it begins to come together, and the sweet scent of cinnamon and sugar mingling in the air all contribute to the magic of this process.
For many, cinnamon rolls are more than just a pastry; they are a symbol of warmth and nostalgia. Perhaps you remember waking up to the sound of your grandmother’s laughter and the sight of her rolling out dough in the kitchen, her apron dusted with flour. Or maybe you have a cherished family recipe that has been passed down through the years. Each bite of a homemade cinnamon roll can transport you back to those treasured moments, reminding you of the love and care that goes into baking.
While some may find comfort in store-bought versions, there’s a unique satisfaction that comes from crafting your own cinnamon rolls from scratch. The joy of sharing these warm, gooey treats with friends and family makes the effort worthwhile, creating new memories and traditions along the way.
Understanding the Ingredients
To achieve the best homemade cinnamon rolls, it’s essential to understand the role of each ingredient in the recipe. This knowledge not only enhances your baking skills but also allows you to appreciate the nuances of flavors and textures that come together to create the perfect roll.
All-Purpose Flour
The foundation of any good cinnamon roll is the dough, and all-purpose flour is the key ingredient that provides structure. Flour contains proteins that, when combined with liquid and kneaded, form gluten—a network that gives the dough its elasticity and strength. The right amount of flour is critical; too much can lead to tough rolls, while too little may result in a sticky mess. For our recipe, we will use a precise measurement of all-purpose flour to ensure the perfect balance.
Instant Yeast
Instant yeast is a vital component in creating that light, fluffy texture we all crave in cinnamon rolls. Unlike active dry yeast, instant yeast doesn’t require proofing before use, making it a convenient choice for home bakers. When mixed with warm water, it quickly activates, producing carbon dioxide that helps the dough rise. The result is a soft roll that pulls apart easily and melts in your mouth.
Sugar
Sugar plays a dual role in our cinnamon rolls. First, it sweetens the dough, creating a delightful contrast to the warm spices in the filling. Second, sugar acts as food for the yeast, helping it to ferment and produce the gases necessary for rising. In our recipe, we’ll use a combination of granulated sugar in the dough and brown sugar in the filling. This pairing not only enhances the flavor but also contributes to the moistness of the rolls.
Whole Milk and Butter
Richness is another essential characteristic of great cinnamon rolls, and whole milk and butter provide just that. Whole milk adds creaminess and moisture to the dough, while butter infuses it with flavor and tenderness. The fat in butter also contributes to the overall texture, ensuring that each roll is soft and luscious.
Filling Ingredients
The filling is where the magic truly happens in cinnamon rolls. Our recipe calls for a generous amount of brown sugar, which caramelizes during baking, creating a rich, gooey center. The warm, aromatic qualities of ground cinnamon elevate the flavor profile, making each bite a delightful experience.
When it comes to choosing between brown sugar and granulated sugar for the filling, brown sugar is preferred for its deeper flavor and moist texture. The molasses content in brown sugar adds a subtle richness that perfectly complements the warm spices.
Cream Cheese Frosting
No cinnamon roll is complete without a luscious frosting, and cream cheese frosting is the perfect choice for balancing sweetness with a tangy flavor profile. The cream cheese adds a creamy texture that pairs beautifully with the warmth of the cinnamon rolls. In our recipe, we will blend cream cheese with powdered sugar to achieve the perfect balance of sweetness and tanginess, creating a frosting that is both indulgent and satisfying.
Step-by-Step Instructions for Perfect Cinnamon Rolls
Preparing the Dough
Once you’ve gathered all your ingredients, it’s time to start preparing the dough. Begin by combining the all-purpose flour, sugar, salt, and instant yeast in a mixing bowl. It’s important to mix these dry ingredients thoroughly to ensure that the yeast and sugar are evenly distributed throughout the flour.
Next, warm your milk and melt the butter together. The ideal temperature for activating yeast is between 100°F to 110°F (38°C to 43°C). If the mixture is too hot, it can kill the yeast, while too cold may not activate it properly. Once the milk and butter are warm, pour the mixture into the bowl with the dry ingredients.
Using a wooden spoon or a dough hook attached to a stand mixer, mix the ingredients until they come together to form a shaggy dough. At this stage, you may find that the dough is slightly sticky. This is normal; don’t be tempted to add too much flour.
Kneading Techniques
Kneading is a crucial step in developing the gluten structure that gives cinnamon rolls their characteristic texture. If you’re using a stand mixer, knead the dough on medium speed for about 5 to 7 minutes until it becomes smooth and elastic. Alternatively, you can knead by hand on a lightly floured surface. To do this, push the dough away from you with the heel of your hand, fold it back over itself, and rotate it a quarter turn. Repeat this process for about 10 minutes until the dough is smooth and stretchy.
You’ll know your dough is well-kneaded when it springs back when poked and feels soft and pliable.
The First Rise
Once your dough is kneaded to perfection, it’s time to let it rise. Place the dough in a lightly greased bowl, cover it with a clean kitchen towel or plastic wrap, and set it in a warm, draft-free area. This is crucial for the dough’s first rise, which typically takes about 1 to 1.5 hours. During this time, the yeast will work its magic, causing the dough to double in size.
To create optimal rising conditions, you can preheat your oven to the lowest setting for a few minutes, then turn it off and place the dough inside. The gentle warmth will help the yeast activate and promote a successful rise.
Preparing the Filling
While the dough is rising, you can prepare the cinnamon-sugar filling. In a medium bowl, combine brown sugar, ground cinnamon, and melted butter. Mix until you achieve a thick paste-like consistency. The filling should be spreadable but not too runny. If necessary, adjust the amount of butter or sugar to achieve the desired texture.
Once the dough has risen and doubled in size, transfer it to a lightly floured surface. Gently punch down the dough to release the air and then roll it out into a large rectangle, about 1/4-inch thick.
Rolling Out the Dough
With the dough rolled out, spread the filling evenly over the surface, leaving a small border around the edges. This will help prevent the filling from spilling out when you roll it up. Starting from one of the longer edges, carefully roll the dough into a tight log, making sure to keep the filling intact. Once rolled, pinch the seam to seal it.
Now, it’s time to cut your cinnamon rolls. Using a sharp knife or a bench scraper, slice the log into equal pieces, typically about 1 to 1.5 inches thick. Place the rolls in a greased baking dish, leaving some space between them to allow for the second rise.
—
In the next section of the article, we will cover the second rise, baking process, and how to finish off your delicious homemade cinnamon rolls with the perfect cream cheese frosting. Stay tuned for the continuation of this delightful baking journey!
Tips for Achieving the Perfect Rectangle Shape
To create the ideal cinnamon rolls, it’s essential to start with a well-shaped dough rectangle. Begin by rolling out your dough on a lightly floured surface into a rectangle that measures approximately 16×12 inches. To ensure you achieve this shape, follow these tips:
1. Use a Rolling Pin: A rolling pin helps maintain even pressure while rolling the dough out. Start from the center and work your way outwards to each edge.
2. Keep the Edges Straight: Regularly check the edges of your rectangle. If they begin to curve, gently pull them outwards to maintain straight lines.
3. Rest the Dough as Needed: If the dough becomes difficult to handle or shrinks back, let it rest for a few minutes. This allows the gluten to relax, making it easier to shape.
Techniques for Spreading Butter and Evenly Distributing the Filling
Once you have your dough in a perfect rectangle, the next step is to spread the softened butter and your cinnamon-sugar filling evenly:
1. Soften the Butter: Make sure your butter is at room temperature, making it easy to spread without tearing the dough. You can microwave it for a few seconds if it hasn’t softened sufficiently.
2. Use an Offset Spatula or the Back of a Spoon: This tool helps you spread the butter evenly across the surface. Start from the center and move towards the edges to ensure a consistent layer.
3. Sprinkle the Filling Evenly: After spreading the butter, evenly sprinkle the cinnamon-sugar mixture over the surface. Use your fingers or a spoon to distribute it uniformly, ensuring every bite will be flavorful.
Shaping the Rolls
With the butter and filling in place, you can now roll the dough into logs to form the rolls:
1. Starting at One Long Edge: Begin at one of the long edges of the rectangle. Use both hands to lift and roll the dough tightly away from you, keeping the filling from spilling out.
2. Maintain Tension: Keep the roll tight as you go, but not so tight that it tears the dough. This tension helps create better layers in each roll.
3. Pinch the Seams: Once rolled, pinch the seam tightly to seal it. This step is crucial for maintaining the shape of your rolls during the second rise and while baking.
Step-by-Step Guide on Rolling and Cutting the Dough
After shaping your log, it’s time to cut the rolls:
1. Use a Sharp Knife or Dental Floss: A serrated knife or unwaxed dental floss can slice through the dough cleanly without squishing it. If using floss, slide it under the log, cross the ends over each other, and pull to cut.
2. Cut into Equal Segments: Aim for rolls about 1.5 inches thick. This ensures they bake evenly and all have a similar size.
3. Arrange in the Baking Dish: Place the cut rolls in a greased baking dish, ensuring they are close but not touching. This allows them room to expand during the second rise.
The Second Rise
The second rise is essential for achieving fluffy, airy cinnamon rolls:
1. Cover the Rolls: Use a clean kitchen towel or plastic wrap to cover the rolls. This prevents the dough from drying out.
2. Warm Environment: Let them rise in a warm, draft-free area. A slightly heated oven (turned off) can provide the perfect environment.
3. Visual Cues: Look for the dough to double in size, which usually takes about 30 to 60 minutes. It’s ready when it feels soft and springs back slowly when poked.
Baking the Rolls
Once your rolls have risen, it’s time to bake them to golden perfection:
1. Preheat the Oven: Always preheat your oven to 350°F (175°C). This ensures even baking and helps the rolls rise properly in the initial minutes.
2. Baking Time: Bake for 25-30 minutes, or until the tops are golden brown. They should be firm to the touch and not doughy in the center.
3. Check for Doneness: If you have a food thermometer, the internal temperature should be around 190°F (88°C) when done.
Making the Cream Cheese Frosting
A rich cream cheese frosting complements the sweetness of cinnamon rolls:
1. Ingredients: You’ll need 8 oz cream cheese, 4 oz unsalted butter, 2 cups powdered sugar, and 1 tsp vanilla extract.
2. Mixing: In a mixing bowl, beat the cream cheese and butter together until smooth. Gradually add the powdered sugar and vanilla, mixing until creamy. Adjust the consistency with a little milk if necessary for a spreadable texture.
3. Flavor Variations: For a twist, consider adding a pinch of cinnamon, nutmeg, or even citrus zest to your frosting for added flavor.
Frosting and Serving the Rolls
Frosting your cinnamon rolls is the final touch:
1. Apply While Warm: Spread the cream cheese frosting generously over the warm rolls right after they come out of the oven. The heat will help the frosting melt slightly, creating a delicious glaze.
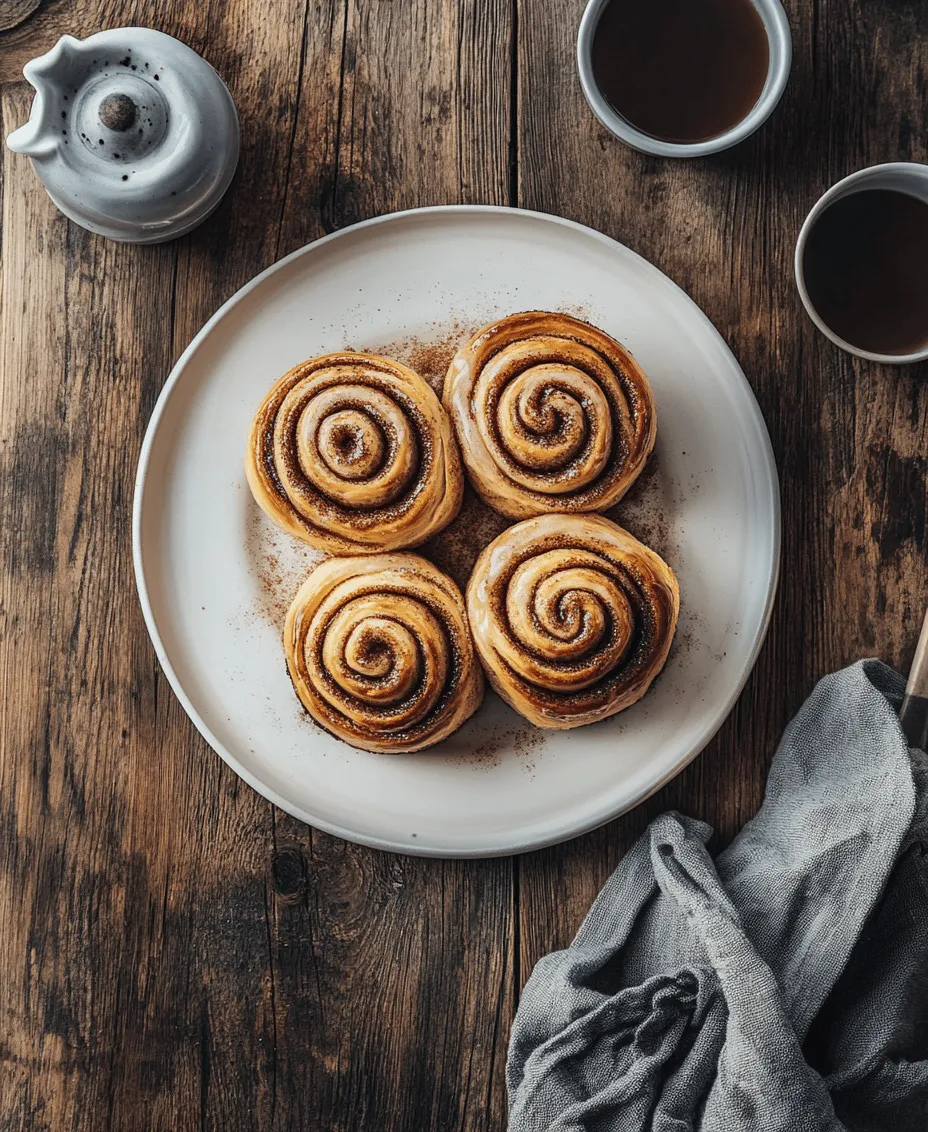
2. Serving Suggestions: Serve your cinnamon rolls warm, perhaps alongside a steaming cup of coffee or tea. They are also delightful as part of a brunch spread.
Common Mistakes to Avoid
While making cinnamon rolls can be straightforward, there are common pitfalls to watch out for:
1. Overworking the Dough: Kneading too much can make the dough tough. Aim for a soft, pliable texture.
2. Incorrect Rising Conditions: Ensure the rolls rise in a warm area without drafts. If the kitchen is cool, consider placing them in an oven with just the light on.
3. Underbaking or Overbaking: Keep a close eye on your rolls as baking times can vary. Use the visual cues mentioned earlier to avoid these errors.
Tips for Troubleshooting Issues
If you find your dough isn’t rising, check the yeast’s freshness. If it’s too dry or tough, consider adding a bit more liquid or shortening the kneading time. If the rolls aren’t fluffy, they may need longer to rise.
Variations on the Classic Cinnamon Roll
Cinnamon rolls are versatile, so feel free to experiment with fillings and toppings:
1. Customizing the Filling: Add chopped nuts, raisins, or chocolate chips to the cinnamon-sugar filling for added texture and flavor.
2. Different Frostings: Try a simple vanilla glaze or a maple frosting for a seasonal twist.
3. Seasonal Variations: Consider pumpkin spice cinnamon rolls in the fall or peppermint variations during the holidays.
The Perfect Pairings for Cinnamon Rolls
To enhance your cinnamon roll experience, consider these pairings:
1. Beverages: Pair your rolls with coffee, tea, or hot chocolate, which complement the sweetness beautifully.
2. Brunch Accompaniments: Serve alongside fresh fruit, yogurt, or savory dishes like scrambled eggs for a balanced brunch.
Conclusion
Homemade cinnamon rolls are a comforting and rewarding baking project that brings joy to both the maker and the eater. The aroma wafting through your kitchen as they bake is just the beginning of the delight these rolls bring. With soft, fluffy dough and rich cream cheese frosting, each bite is truly a treat.
We encourage you to try this recipe, customize it to your liking, and share your experiences with friends and family. Baking at home not only nurtures creativity but also creates lasting memories around the table. Enjoy the process, and savor the delicious outcome!